Custom Permissions
Custom permission roles let you control exactly what each team member can access and do inside Nusii. Instead of giving everyone full access, you can create roles like “Sales Manager” or “Editor” with only the permissions they need.
This feature is available on the Business plan. If you’re on a different plan, you can upgrade from Settings / Subscription to start using custom permissions.
Permission Roles Overview
Go to Settings / Permission Roles to see all the custom roles in your account. You’ll see a table with each role name, how many team members are assigned to it, and an actions menu.
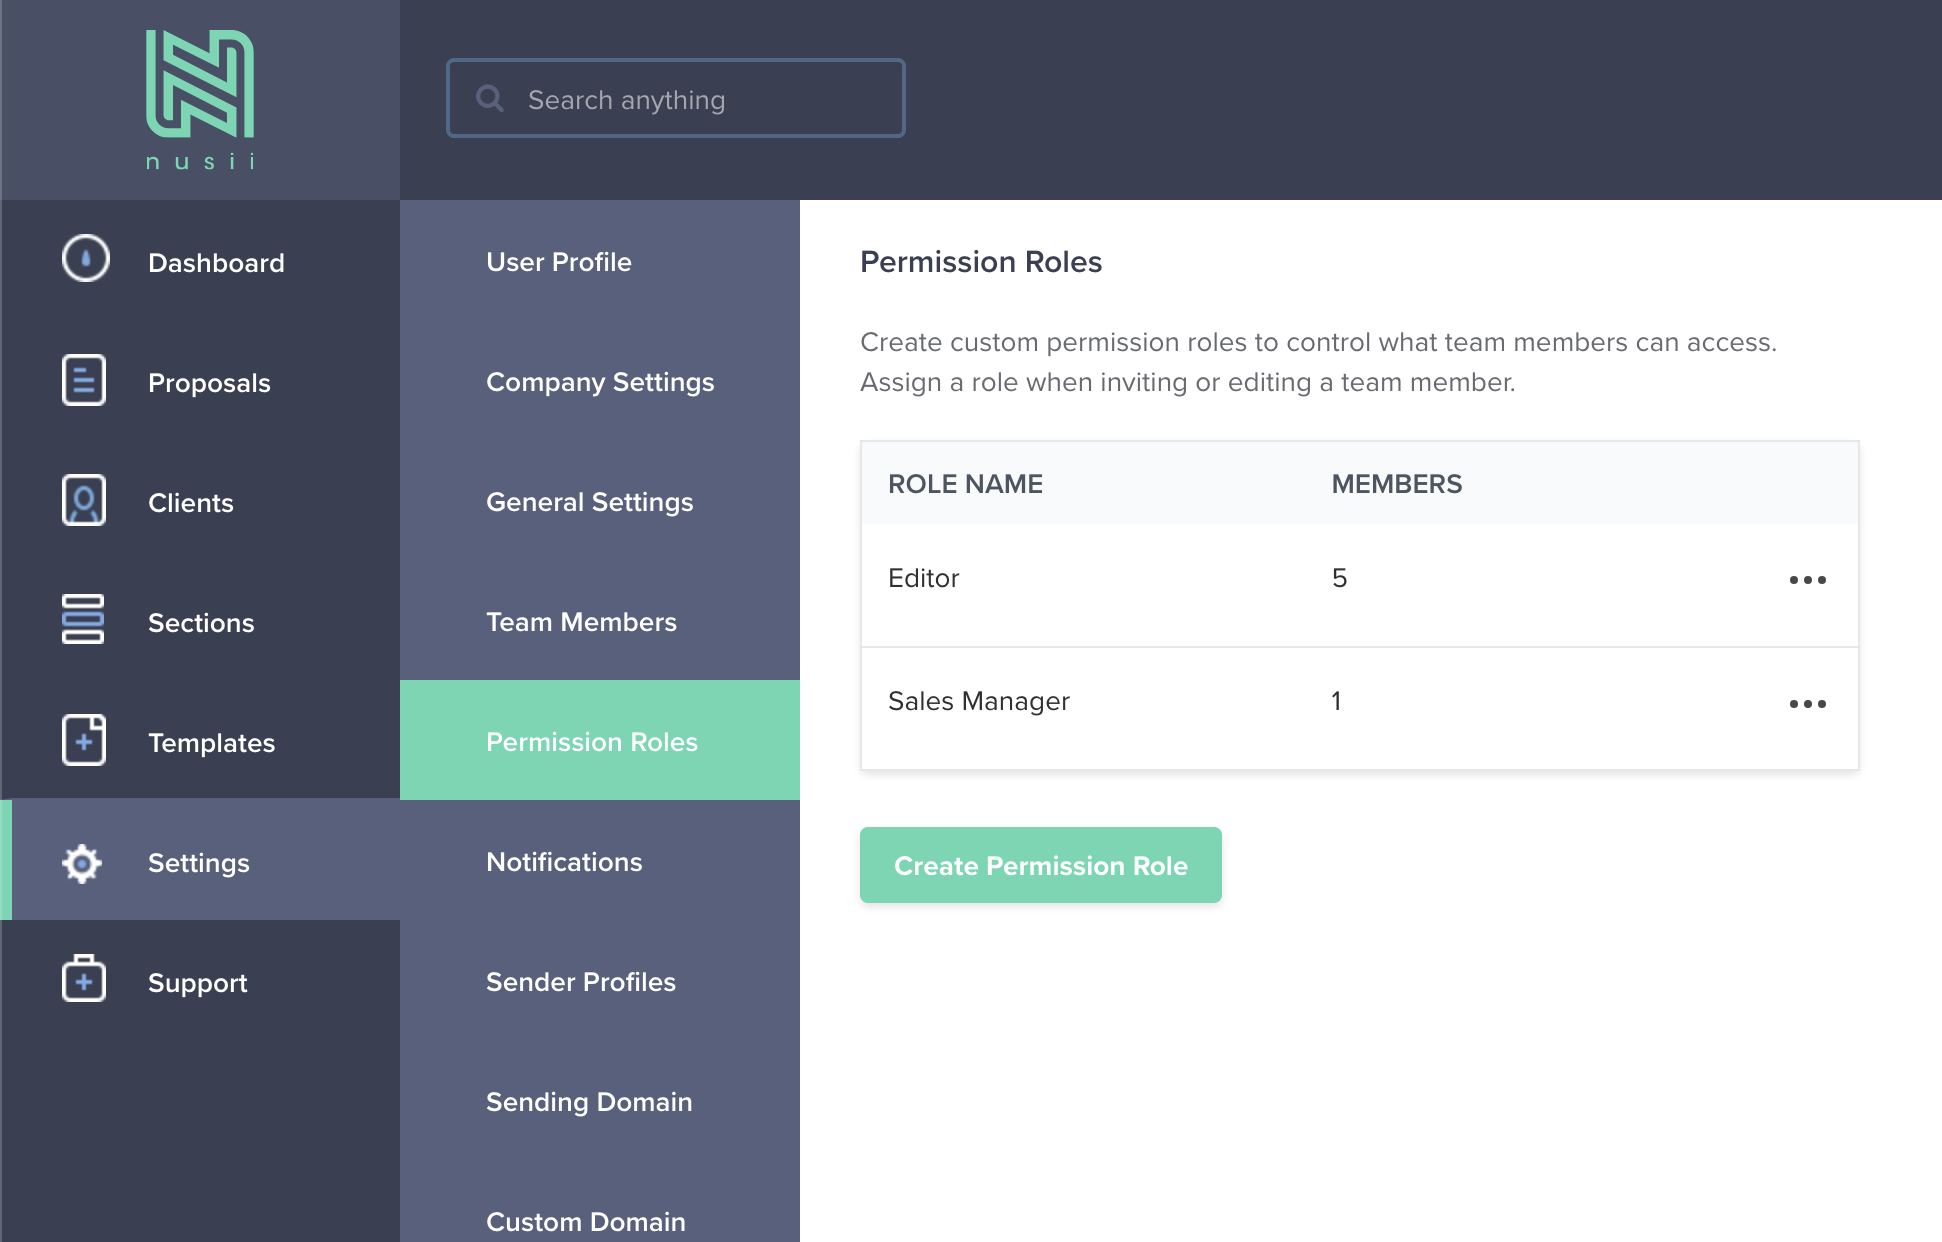
From here you can create new roles, edit existing ones, or delete roles you no longer need.
Creating a Permission Role
Click the “Create Permission Role” button and give your role a name—something descriptive like “Sales Manager” or “Editor” works well.
Next, check the permissions you want this role to have. Permissions are organized into four sections:

Proposals
- Manage all proposals — Create, edit, send, and delete all proposals in the account.
Templates
These options are mutually exclusive—you can pick one or the other:
- Manage all templates — Create, edit, and delete any template in the account.
- Manage own templates only — Only manage templates you created yourself.
Reusable Sections
Also mutually exclusive:
- Manage all sections — Create, edit, and delete any reusable section.
- Manage own sections only — Only manage sections you created yourself.
Settings
- Manage team members — Invite, edit roles, and remove team members.
- Manage notifications — Configure account-wide notification preferences.
- Access account settings — View and edit company, general, and branding settings.
- Access billing — View and manage subscription, invoices, and payment details.
- Access domain settings — Configure the custom domain for proposal links.
- Manage email templates — Edit email templates used when sending proposals.
- Manage sender profiles — Create and edit sender profiles.
- Manage sending domains — Add and verify custom sending domains.
- Manage integrations — Connect third-party integrations like Slack, CRM tools, and Zapier.
- Manage API tokens — Create and revoke API tokens.
- Manage permission roles — Create, edit, and delete custom permission roles.
Any permission left unchecked defaults to no access. Once you’re happy with the setup, click “Save” to create the role.
Assigning a Role to a Team Member
Once you’ve created your roles, you can assign them when inviting or editing a team member. Go to Settings / Team Members and select the custom role from the role dropdown.
Team members with a custom role will only see and access the areas you’ve enabled for them.
Editing or Deleting a Role
To update a role, go to Settings / Permission Roles and click the actions menu (“…“) next to the role you want to change. From there you can edit the permissions or delete the role entirely.
Keep in mind that if you delete a role, any team members assigned to it will need to be reassigned to a different role.
Good to Know
- Account Owners and Administrators always have full access—custom permissions only apply to team members with a custom role.
- You can create as many roles as you need to match your team structure.
- Each permission has a tooltip in the form that explains exactly what it grants.
Upgrading to the Business Plan
Custom permissions are available on the Business plan. To upgrade, head to Settings / Subscription and select the Business plan. Your custom permission roles will be ready to use right away.
If you have any questions, just ping us below. We’ll be happy to help!